Roof and plumbing vent leaks: cracked boots, exposed fasteners
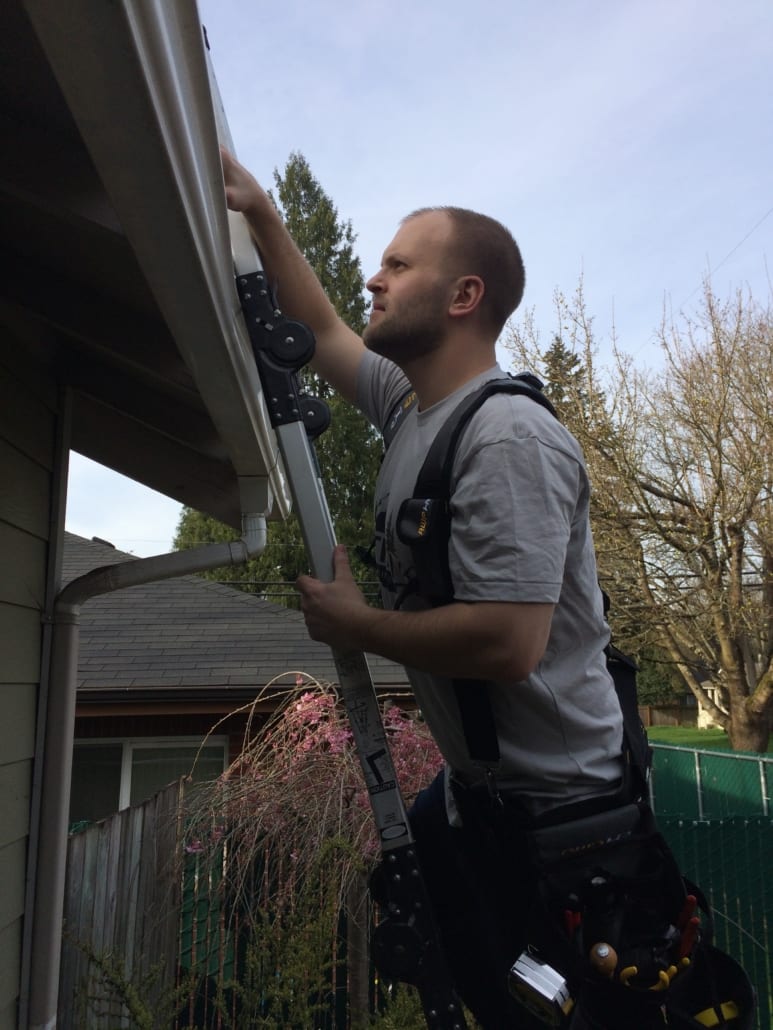
It’s spring, and generally, that means we might have a couple days of nice weather. It also means we’ll have plenty of rain. So, if you happen to catch a day off on one of those nice days, it might be a good time to climb up and check for potential leaks around your roof and plumbing vents. And, while you’re up there, I expect everyone to master the above roof dismount.
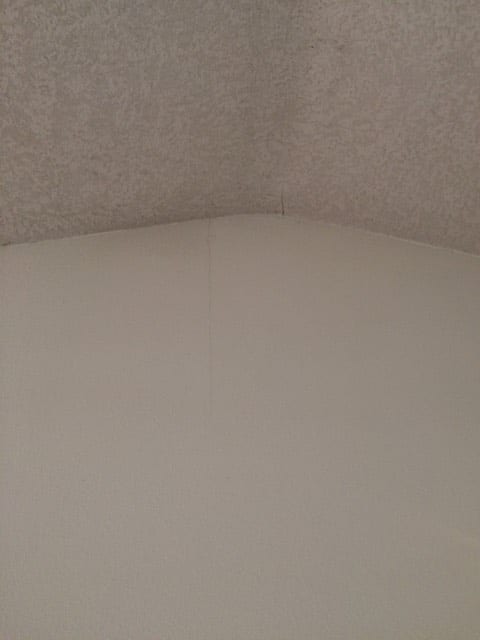
Roof and plumbing vents are common and often overlooked areas of water intrusion that are easy to fix. Above is a photo (that doesn’t show up well here, sorry) I took of a crack in a cathedral ceiling and wall. If you look carefully, you can see a crack to the right of the peak in the ceiling and another below the peak to the left.
On this house, by the time I conducted my home inspection, the sellers had already replaced the roof vent shown above. But, the damage from the previous leak had already been done.
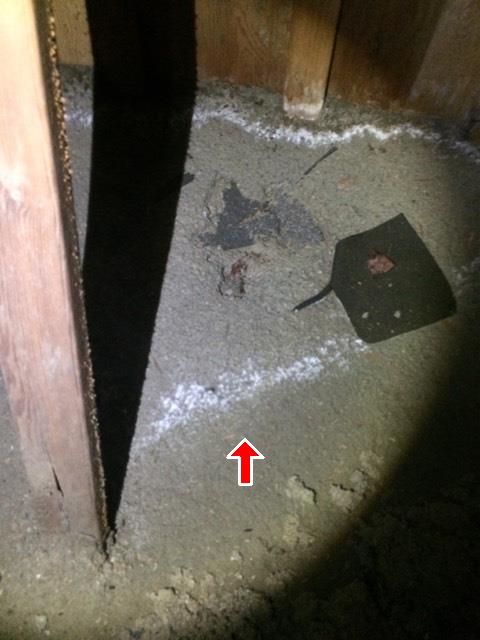
The leak left a stain in the attic insulation just above where the ceiling and wall crack are visible from inside the home. And while I don’t know for sure, I suspect three common issues could have played a role in this leak: it was cracked or broken in some fashion, improperly installed, and/or the fasteners attaching the vent to the roof were exposed and not sealed.
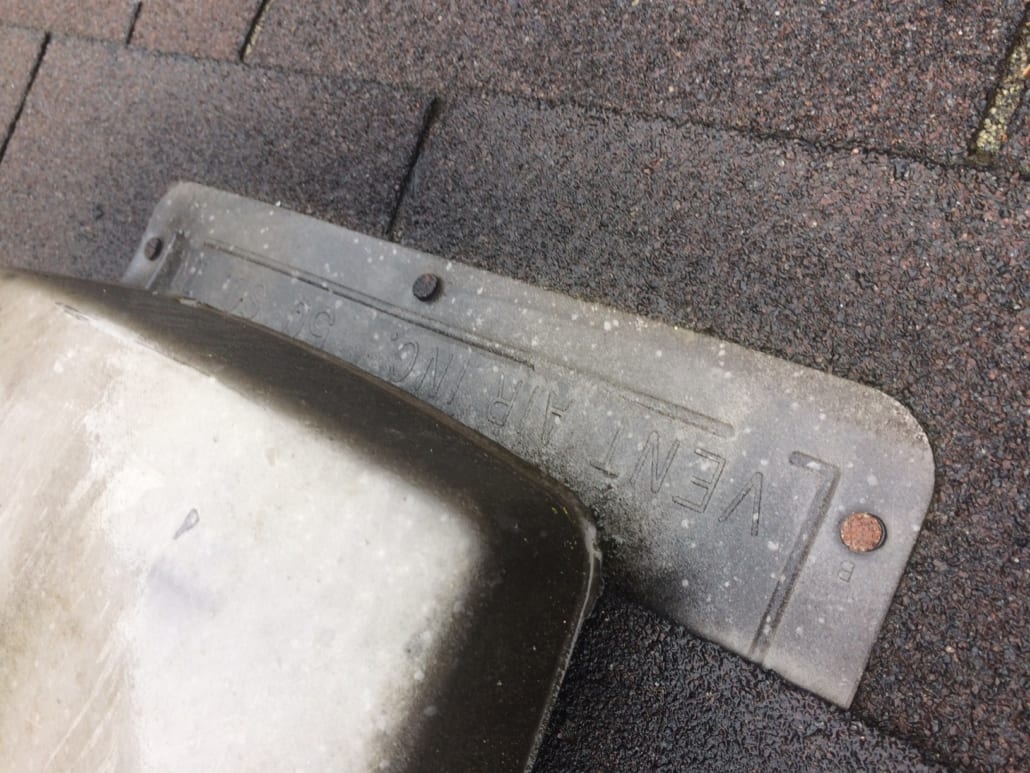
Exposed nail heads that penetrate the roof will leak in time and should always be sealed with roofing tar or caulk. It’s an easy thing to do, but too often is overlooked by roofers.
I climbed up on my roof, and sure enough, found one of the vents had exposed fasteners. While this isn’t generally a huge deal, it’s something that should be fixed. If left alone too long, a small leak can turn into a big problem.
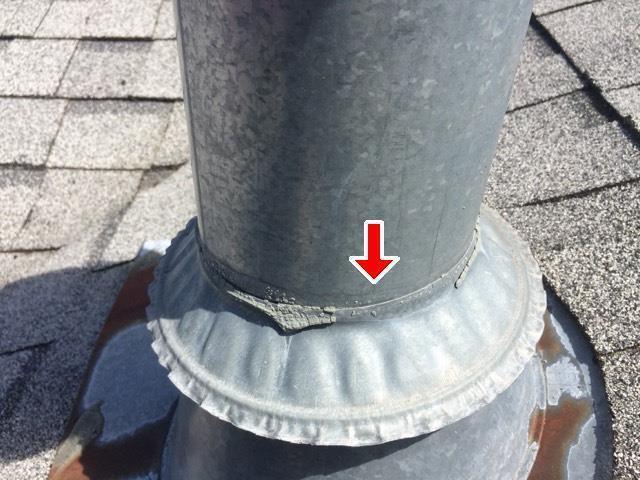
Another common area where water can sneak in through your roof is on the boots of plumbing vents. Those are the black pipes you see sticking out of roof. They help with drainage and vent sewer gases. Typically, they have a black plastic pipe with a rubber “boot” connecting them to a metal base (flashing), which is attached to the roof.
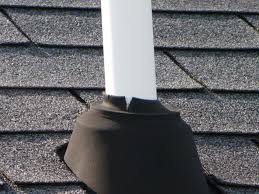
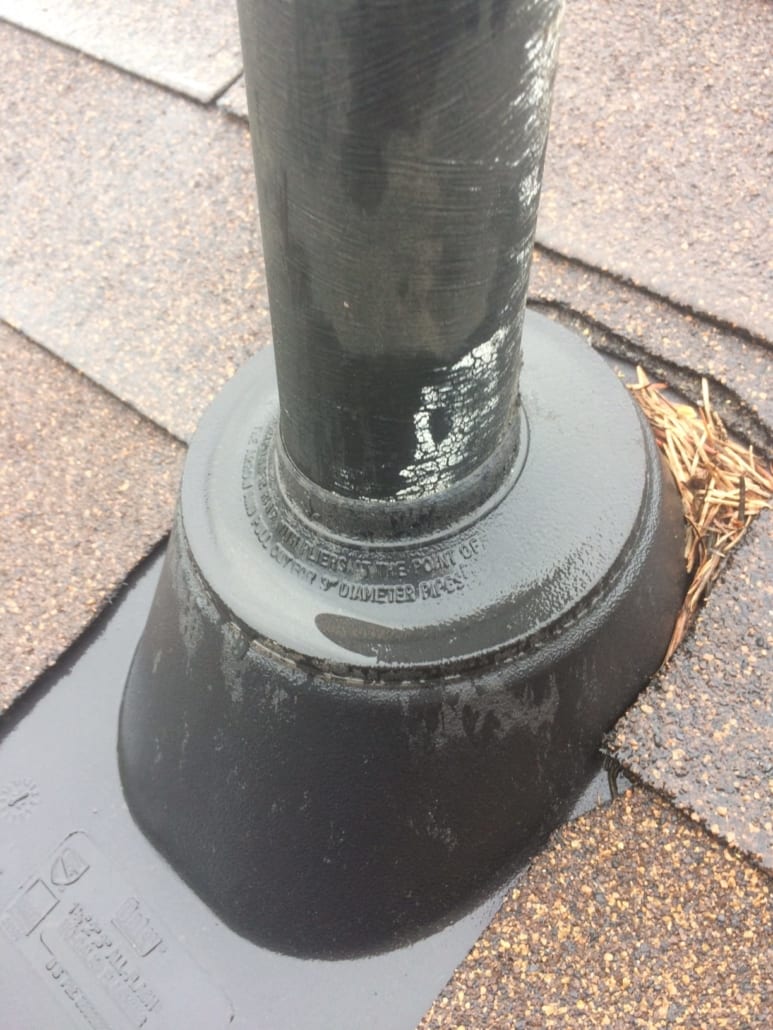
The plumbing vent boot on the left is cracked. The one in the photo on the right is in decent shape, although it may be nearing its expected life span of 10-15 years and could start cracking soon. These small cracks can be especially troublesome in years where we get enough snow — like last winter (2016)– to cover the boot above the crack. Water will leak down through that crack as the snow melts and cause water damage.
Don’t caulk the cracks; just replace them. The caulk will break down quickly and you’ll be up on the roof again soon. Replacing these is easy and fairly inexpensive, between $10-$20. Replacement base flashing and boots come in all different sizes and are readily available at home improvement stores.
Things to keep in mind for installation, code-wise: These vent pipes should always be at least 2″ in diameter and extend at least 6″ above the roof, according to the international plumbing code. The exception for the height is if you live in area that gets tons of snow, because the vent could get buried. In that case, check with your local jurisdiction.
And, of course, be safe. Use a ladder.
[/av_textblock]


Leave a Reply
Want to join the discussion?Feel free to contribute!